共計 1984 個字符,預計需要花費 5 分鐘才能閱讀完成。
自動寫代碼機器人,免費開通
這篇文章給大家介紹怎樣在 Ubuntu18.04 中安裝 MySQL,內容非常詳細,感興趣的小伙伴們可以參考借鑒,希望對大家能有所幫助。
1. 安裝 MySQL
在 Ubuntu 中,默認情況下,只有最新版本的 MySQL 包含在 APT 軟件包存儲庫中, 要安裝它,只需更新服務器上的包索引并安裝默認包 apt-get。
# 命令 1
sudo apt-get update
sudo apt-get install mysql-server
2. 配置 MySQL2.1 初始化配置
sudo mysql_secure_installation配置項較多,如下所示:
#1
VALIDATE PASSWORD PLUGIN can be used to test passwords...
Press y|Y for Yes, any other key for No: N (我的選項)
Please set the password for root here...
New password: (輸入密碼)
Re-enter new password: (重復輸入)
By default, a MySQL installation has an anonymous user,
allowing anyone to log into MySQL without having to have
a user account created for them...
Remove anonymous users? (Press y|Y for Yes, any other key for No) : N (我的選項)
Normally, root should only be allowed to connect from
 localhost . This ensures that someone cannot guess at
the root password from the network...
Disallow root login remotely? (Press y|Y for Yes, any other key for No) : Y (我的選項)
By default, MySQL comes with a database named  test  that
anyone can access...
Remove test database and access to it? (Press y|Y for Yes, any other key for No) : N (我的選項)
Reloading the privilege tables will ensure that all changes
made so far will take effect immediately.
Reload privilege tables now? (Press y|Y for Yes, any other key for No) : Y (我的選項)
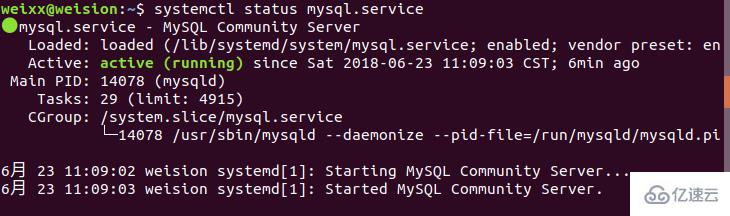
2.2 檢查 mysql 服務狀態(tài)
systemctl status mysql.service顯示如下結果說明 mysql 服務是正常的:
3. 配置遠程訪問
在 Ubuntu 下 MySQL 缺省是只允許本地訪問的,使用 workbench 連接工具是連不上的;
如果你要其他機器也能夠訪問的話,需要進行配置;
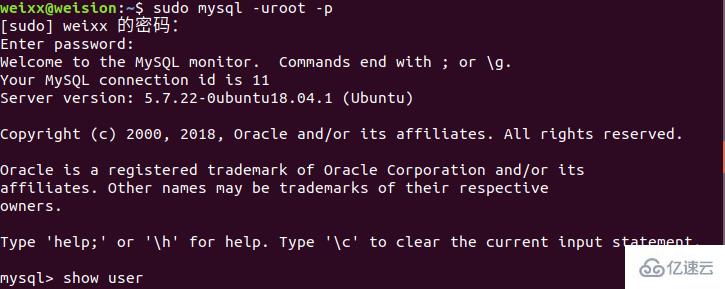
3.1 首先用根用戶進入
sudo mysql -uroot -p登入 root 進行其他設置:
GRANT ALL PRIVILEGES ON *.* TO root@localhost IDENTIFIED BY 123456
其中 root@localhos,localhost 就是本地訪問,配置成 % 就是所有主機都可連接;
第二個 123456 為你給新增權限用戶設置的密碼,% 代表所有主機,也可以是具體的 ip;
不過這隨設置了 % 但我 root 通過工具還是登陸不進去,可能是為了安全性,所以新建數(shù)據(jù)庫和用戶;
3.2 新建數(shù)據(jù)庫和用戶
用 root 用戶新建數(shù)據(jù)和用作遠程訪問的用戶
##1  創(chuàng)建數(shù)據(jù)庫 weixx
CREATE DATABASE weixx;
##2  創(chuàng)建用戶 wxx(密碼 654321)  并允許 wxx 用戶可以從任意機器上登入 mysql 的 weixx 數(shù)據(jù)庫
GRANT ALL PRIVILEGES ON weixx.* TO wxx@ %  IDENTIFIED BY  654321
4. 使用 workbench 連接數(shù)據(jù)庫
打開 workbench 進行連接配置:
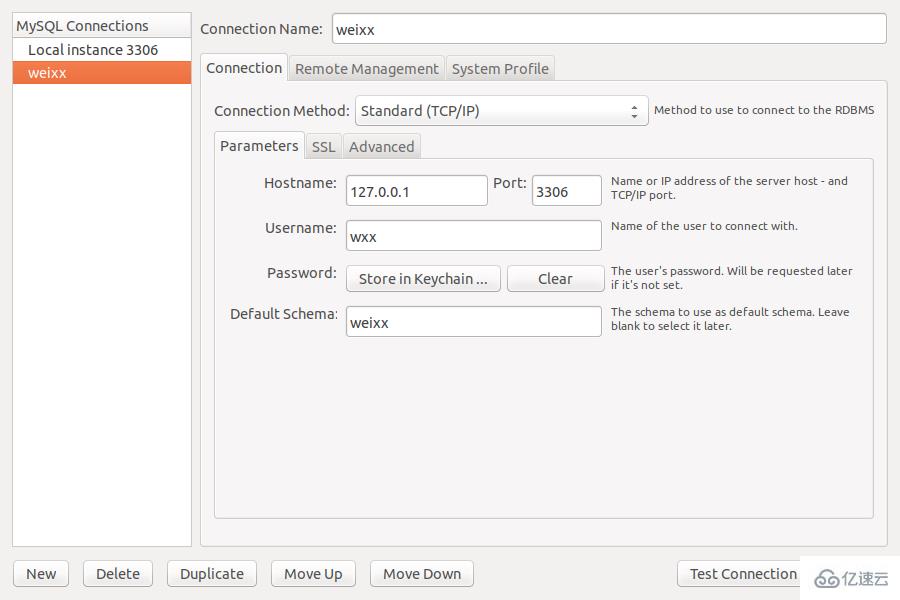
配置完成后,在主界面選擇 weixx 數(shù)據(jù)庫進行連接:

關于怎樣在 Ubuntu18.04 中安裝 MySQL 就分享到這里了,希望以上內容可以對大家有一定的幫助,可以學到更多知識。如果覺得文章不錯,可以把它分享出去讓更多的人看到。
向 AI 問一下細節(jié)


